
Using a laser marking machine involves several steps:
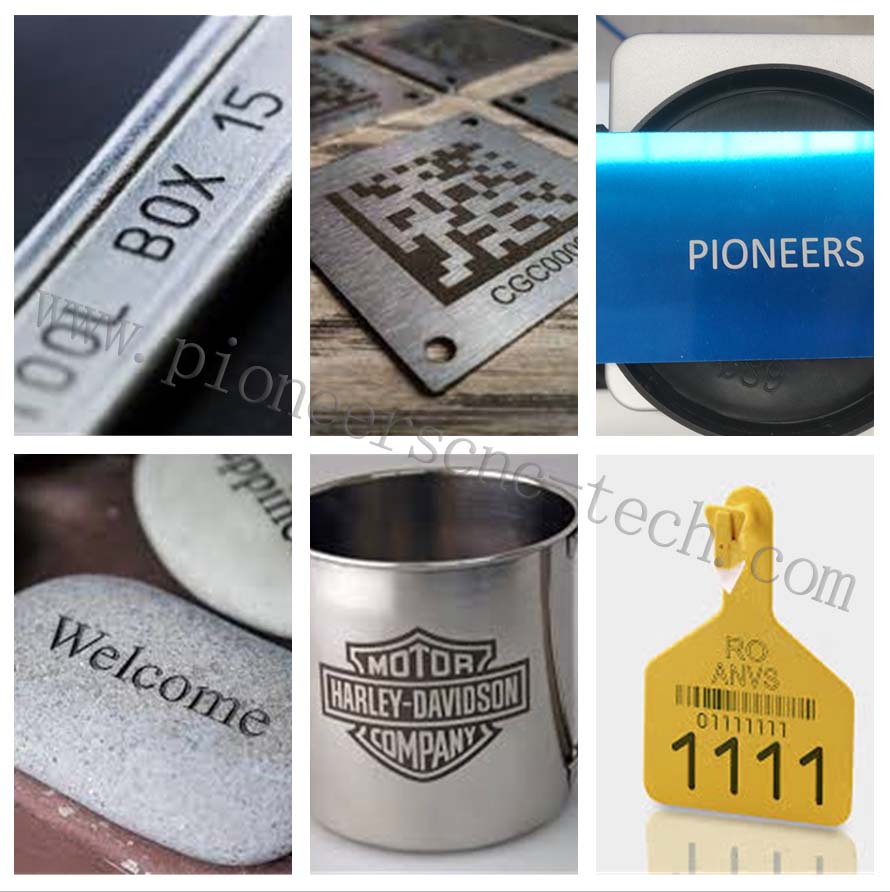
Choose the material: Laser marking can be used on a variety of materials such as metal, plastic, glass, wood, and leather. Choose the material that you want to mark.
Create the design: The laser marking machine software can import a design from different formats such as .ai, .dxf, .plt, .bmp, .jpg, or .gif. Alternatively, you can create a design using the software provided.
Prepare the machine: Turn on the laser marking machine and ensure that the machine is properly calibrated.
Load the material: Load the material that you want to mark onto the machine bed.
Set the parameters: Set the laser parameters such as laser power, speed, frequency, and pulse duration based on the material being marked and the design requirements.
Mark the material: Press the start button on the laser marking machine to begin the marking process. The laser will mark the material based on the design and parameters set.
Inspect the result: Inspect the marked material to ensure that the marking is accurate and of high quality.
Unload the material: Remove the marked material from the machine bed.
By following these steps, you can use a laser marking machine to mark various materials with precision and accuracy.