
If you’ve ever marveled at intricately engraved phone cases, personalized wooden signs, or precise markings on metal parts, chances are a laser etching machine made it possible. For beginners eager to explore this versatile technology, understanding the fundamentals is key to turning curiosity into creativity—without feeling overwhelmed. This guide breaks down everything you need to know to get started with laser etching, from how the machines work to safe, first-time use.
What Is a Laser Etching Machine?
At its core, a laser etching machine uses a focused beam of light (laser) to alter the surface of a material, creating permanent designs, text, or patterns. Unlike traditional methods like sandblasting or hand-carving, laser etching is non-contact, meaning the machine never touches the material—reducing damage risk and ensuring ultra-fine precision.
The term “etching” often gets confused with “engraving,” but there’s a simple difference: etching modifies the material’s surface (e.g., darkening wood or removing a layer of plastic), while engraving carves deeper into the material to create 3D-like depth. Most beginner-friendly machines handle both tasks, though their power levels may limit how deep they can engrave.
Core Components of a Laser Etching Machine
Even entry-level laser etching machines share key parts that make their magic happen. Familiarizing yourself with these components will help you troubleshoot issues and use the machine more confidently:
Laser Source: The “heart” of the machine. Beginners typically use CO₂ lasers (best for non-metals like wood, acrylic, and paper) or fiber lasers (ideal for metals like stainless steel or aluminum). CO₂ lasers are more common in starter kits due to their lower cost and versatility.
Optical System: Includes mirrors and a focusing lens that direct the laser beam to a single, sharp point. The lens’s focal length (usually 2-4 inches for beginners) affects precision—shorter focal lengths work better for small, detailed designs.
Workbed: The flat surface where you place your material. Entry-level machines often have a fixed bed, while higher-end models may offer adjustable height (helpful for thick materials like wooden blocks).
Control Panel & Software: Most machines connect to a computer via USB, where you use software (e.g., LightBurn, LaserGRBL) to design and send projects. The control panel lets you start/stop jobs, adjust speed, and check laser power—critical for avoiding mistakes.
How Does Laser Etching Work?
The process is simpler than it sounds, and it follows three basic steps:
Prepare Your Design: Use design software (even free tools like Inkscape work!) to create or import a pattern. Keep it simple for your first project—try a name, a small logo, or a geometric shape. Save the file in a format your laser software supports (e.g., SVG, PNG).
Set Up the Machine: Place your material on the workbed, making sure it’s flat and secure (use clamps for thin materials like paper to prevent movement). Adjust the laser’s focus (follow your machine’s guide—most use a “focus tool” to measure distance) and set parameters: speed (how fast the laser moves) and power (how strong the beam is). For example, wood needs higher power (60-80%) and slower speed (5-10 mm/s), while paper needs lower power (20-30%) and faster speed (20-30 mm/s).
Start Etching: Load your design into the laser software, preview it to ensure it fits on the material, and hit “start.” The machine will move the laser beam according to your design, altering the material’s surface as it goes. Let the machine finish the job—never leave it unattended!
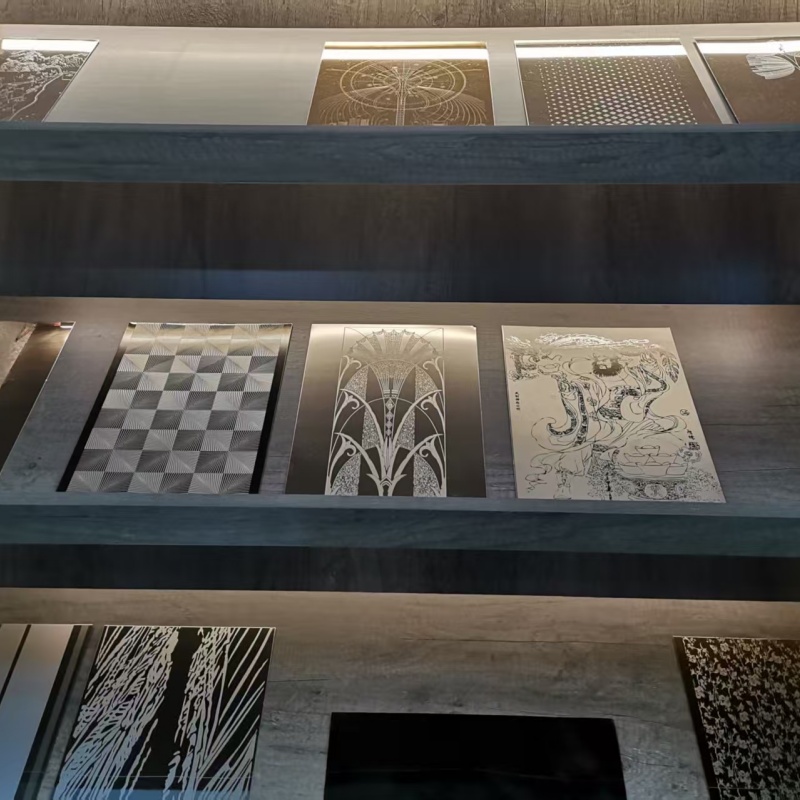
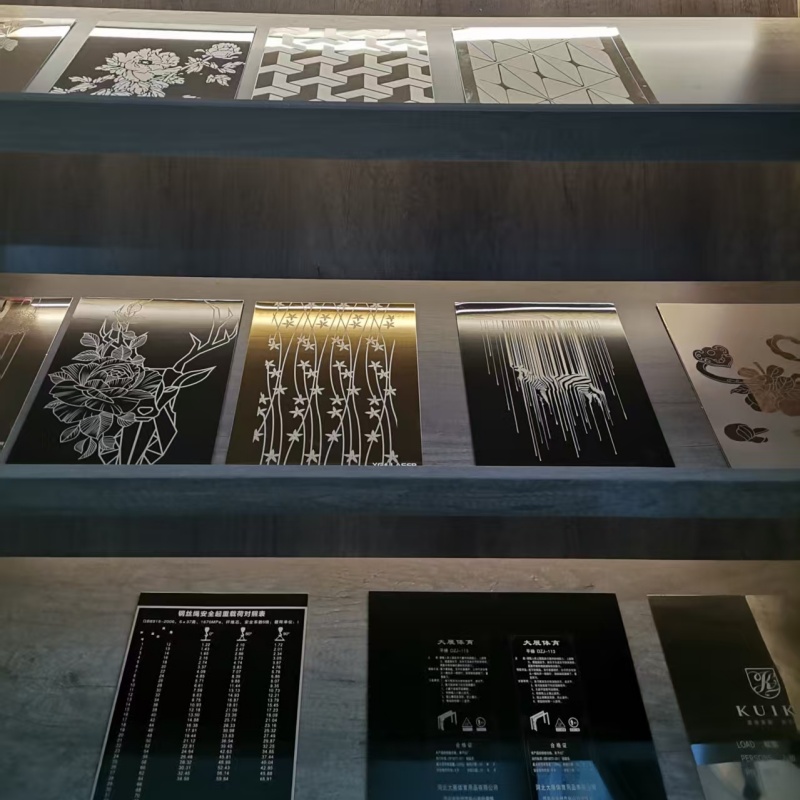
Common Materials for Beginner Projects
One of the best things about laser etching is its versatility, but not all materials are safe or easy for beginners. Stick to these beginner-friendly options first:
Wood: Softwoods like pine or basswood are perfect—they etch cleanly and don’t require high power. Avoid treated wood (it releases toxic fumes).
Acrylic: Clear or colored acrylic creates vibrant, glossy etchings. Use “cast acrylic” (not extruded) for smoother results—extruded acrylic may melt or crack.
Paper/Cardstock: Great for greeting cards or stencils. Use low power to avoid burning through the material.
Leather: Faux leather or vegetable-tanned leather etches well, adding texture to keychains or wallets.
Glass: Some machines (with higher power) can etch glass, but beginners should start with “laser-compatible glass” (or use a spray-on coating to help the laser adhere).
Materials to Avoid: Metals (unless you have a fiber laser), PVC (releases toxic chlorine gas), and foam (can catch fire easily).

Tips for Choosing Your First Laser Etching Machine
If you’re ready to buy, focus on these factors to find a machine that fits your needs and budget (entry-level models range from 300−1,000):
Laser Power: For non-metals, a 30-60W CO₂ laser is enough. If you want to etch metals later, opt for a 20-50W fiber laser (but expect a higher price).
Work Area Size: Consider the materials you’ll use. A 12×8-inch work area works for small projects (phone cases, keychains), while 24×16 inches is better for larger items (signs, cutting boards).
Software Compatibility: Choose a machine that works with user-friendly software (LightBurn is popular for beginners, though it has a one-time fee). Avoid machines with proprietary software that’s hard to update.
Safety Features: Look for a machine with an emergency stop button, a protective cover (to block laser light), and built-in ventilation (to reduce fumes). Safety should always come first!
Safety First: Essential Rules for Beginners
Laser beams are powerful—even low-wattage ones can cause burns or eye damage. Follow these rules to stay safe:
Wear Laser Safety Glasses: Always put on glasses rated for your laser type (e.g., CO₂ lasers need 10.6 μm wavelength glasses). Never look directly at the laser beam.
Ventilate the Area: Use a fan or external exhaust to remove fumes (especially when etching acrylic or leather). Work in a well-ventilated room—never a small, closed space.
Keep Flammables Away: Have a fire extinguisher nearby, and avoid placing paper, fabric, or chemicals near the machine.
Read the Manual: Every machine is different—read the user guide thoroughly before using it.
Getting Started: Your First Project
Ready to try? Here’s a simple first project: a personalized wooden keychain. You’ll need a small piece of basswood (2×1 inch), your laser machine, and design software.
Design a 1.5×0.8-inch rectangle in your software (this will be the keychain shape). Add your initials in the center.
Set your machine to 70% power and 8 mm/s speed.
Place the basswood on the workbed, focus the laser, and start the job.
Once etched, sand the edges lightly and add a keyring—you’re done!
Laser etching is a fun, creative hobby that lets you make custom items for yourself or others. By starting with the basics—understanding components, choosing the right materials, and prioritizing safety—you’ll build confidence to take on more complex projects. With practice, you’ll be engraving everything from gifts to small business products in no time.