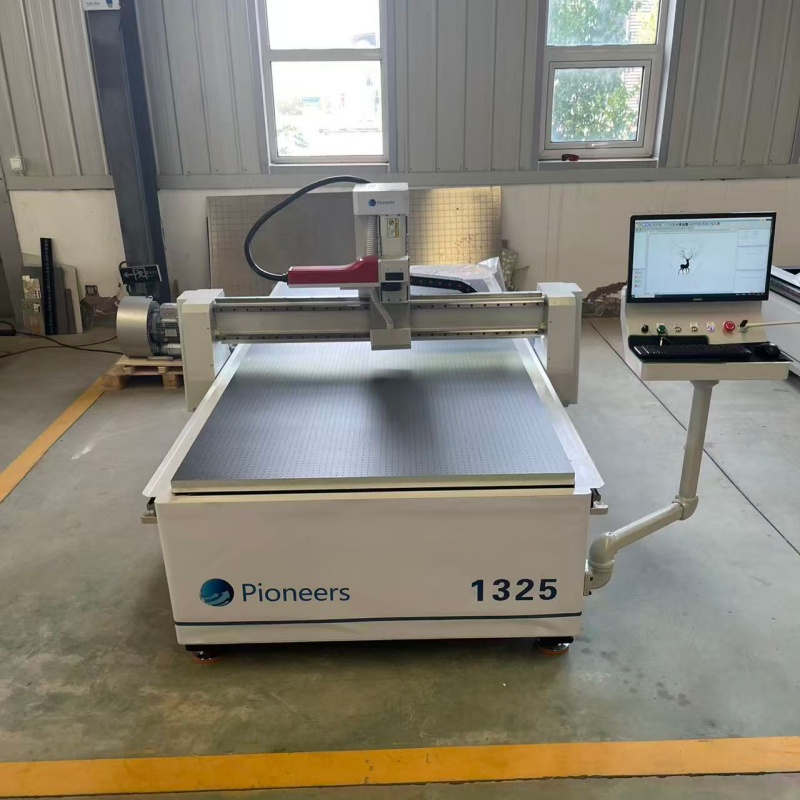
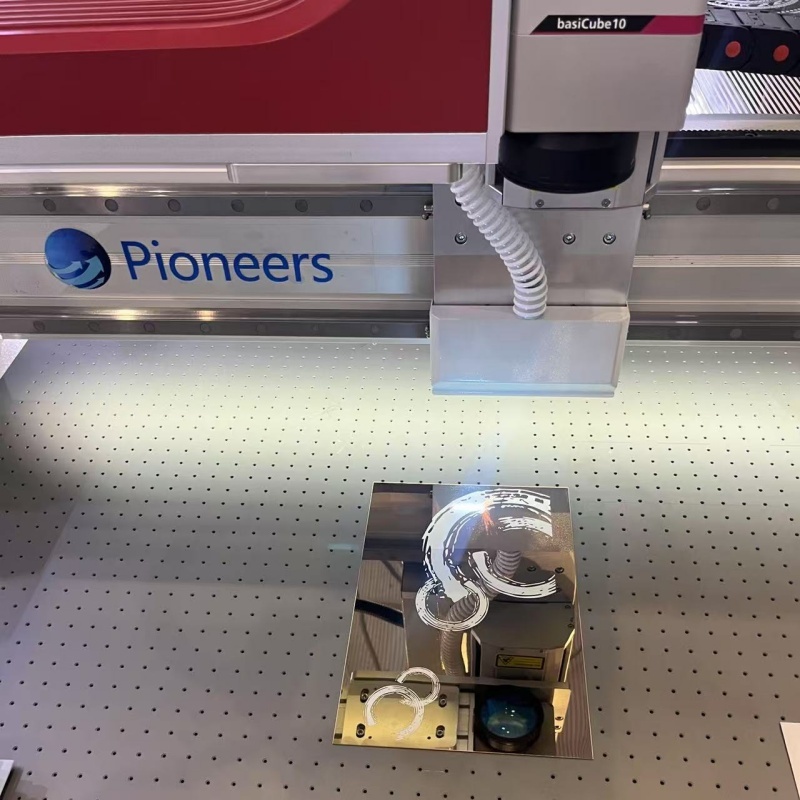
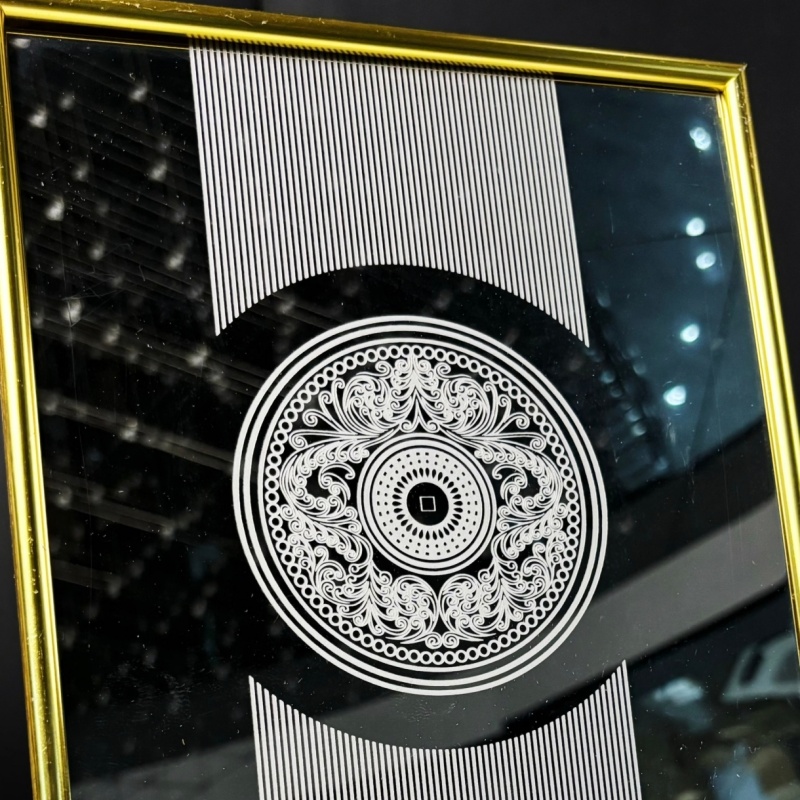
Laser etching machines, as a versatile tool in the precision machining field, have been widely adopted in various industries such as electronics manufacturing, jewelry customization, craft processing, and hardware nameplates due to their advantages of non-contact processing, high precision, high efficiency, and low wear. For beginners, there’s no need to be intimidated by complex technical principles. As long as you firmly grasp the three core steps of “preparation – parameter setting – practical operation,” and combine this with basic safety regulations and maintenance knowledge, you can complete the leap from “zero experience” to “independent operation” within 1-2 hours, easily starting your etching creation and production journey.
- Preparation: Building a Solid Foundation and Avoiding 90% of Operational Risks
90% of operational failures or equipment malfunctions for beginners stem from inadequate preparation. This step focuses on solving three core issues: “material compatibility, equipment inspection, and environment setup,” paving the way for subsequent operations. 1. Material Selection: Choosing the right material is half the battle. The etching effect of a laser etching machine is directly related to the material type and laser wavelength. Choosing the right compatible material can prevent wasted effort. The compatibility between common laser types and materials is as follows: CO₂ Laser (wavelength 10.6μm): Primarily for non-metallic processing, suitable for materials such as wood, acrylic, leather, paper, glass, and fabric. For example, when making shop signs from 3mm thick acrylic sheets or carving decorative paintings from maple wood, CO₂ lasers can quickly create clear textures without damaging the material edges; Fiber Laser (wavelength 1064nm): Focused on metal processing, suitable for materials such as stainless steel, aluminum alloy, copper, and titanium alloy. Metal logos on phone cases, model markings on hardware tools, and personalized characters on jewelry are all etched using fiber laser etching, with lines as fine as 0.1mm. Prohibited Materials: PVC, polyvinyl chloride, and similar materials are strictly prohibited. These materials release toxic hydrogen chloride gas under the high temperature of the laser, which not only harms human health but also corrodes the equipment’s lenses and internal components. If you are unsure about material compatibility, please consult the equipment manual or test with a small piece of scrap material. 2. Equipment Inspection: 3 Essential Pre-Power-On Checks The condition of the equipment directly affects etching accuracy and operational safety. The following checks must be performed before each power-on: * **Inspect the Laser Head and Lenses:** Gently wipe the surface of the laser head with a lint-free cloth to remove dust. Observe the focusing and reflecting lenses for scratches, stains, or fingerprints. Damaged lenses can cause laser energy dispersion, resulting in blurry etching or uneven etching depth. Replace or clean them promptly. * **Inspect the Auxiliary System:** Confirm that the water level in the water circulation system (chiller or water tank) is between the “minimum” and “maximum” marks. Ensure there are no leaks or blockages in the water pipes. Insufficient heat dissipation can cause the laser tube to overheat and burn out. If it is an air-cooled device, check if the air pump pressure is normal (usually 0.4-0.6 MPa). * **Test Hardware and Software Connections:** Open the control software (such as LightBurn or RDWorks), click “Manual Control,” and test whether the X/Y axis movement is smooth and the laser emission is normal. Ensure there are no signal interruptions between the software and the equipment. 3. Environment Setup: Balancing Safety and Efficiency
The operating environment must meet three key requirements: ventilation, stability, and safety.
Ventilation: Etching processes generate fumes (such as metal dust from metal etching and sawdust from wood etching). Operation must be carried out in a well-ventilated room, or exhaust ducts and industrial fans should be installed to expel the fumes outdoors, preventing the inhalation of harmful gases.
Workbench Requirements: A stable workbench with a load-bearing capacity of ≥50kg should be used to prevent equipment from shaking during operation. Clean the workbench of debris and wires to prevent interference with laser head movement.
Safety Equipment: Place a dry powder fire extinguisher next to the workbench to deal with sudden fires involving flammable materials such as wood and leather. Set up warning signs in the operating area to keep children and non-operators away.

- Parameter Settings: Precise Adjustment, Mastering the Core of Etching Effect
Parameter settings are the “soul” of laser etching. The same material and pattern will produce completely different results with different parameters. Beginners do not need to memorize them; they can focus on the three core parameters of “power, speed, and resolution,” and gradually adjust them according to the material type and etching requirements. 1. Power: Controlling Laser Energy Intensity
Power determines the depth of laser penetration on materials, typically ranging from 0% to 100%. The core principle is “low power for non-metals, high power for metals; low power for shallow etching, high power for deep engraving”:
* Non-metallic materials (wood, acrylic, leather): Set power to 30%-60%. For example, for shallow text engraving on 10mm thick pine wood, 40% power is sufficient. For deep engraving of 3D patterns, increase to 55%-60%.
* Metallic materials (stainless steel, aluminum alloy): Power needs to be increased to 60%-90%. For example, for marking numbers on a 1mm thick stainless steel plate, 75% power ensures clear lettering without penetrating the material.
* Beginner’s advice: When working with unfamiliar materials for the first time, start with low power to avoid deformation or burning due to excessive power. 2. Speed: Balancing Efficiency and Etching Depth
Speed refers to the laser head’s movement speed (unit: mm/s), which is inversely proportional to etching depth: the faster the speed, the shallower the etching and the higher the efficiency; the slower the speed, the deeper the etching and the longer the time. The common range is 100-1000 mm/s.
Non-metallic materials: Medium speed (500-600 mm/s) is recommended. For higher efficiency, 600-800 mm/s can be selected; for higher depth, 300-400 mm/s can be selected.
Metallic materials: Relatively slower speeds are recommended, controlled at 200-500 mm/s. For example, when etching brass nameplates, a speed of 350 mm/s can balance depth and efficiency.
Tip: When etching fine lines (such as 0.1 mm text), appropriately reduce the speed to avoid broken lines. 3. Resolution: Determines Pattern Clarity
Resolution (DPI) refers to the number of pixels per inch, directly affecting pattern detail. A common range is 300-600 DPI:
Simple needs (such as text markings, numbering): 300 DPI is sufficient, ensuring smooth text without jagged edges and fast etching speed;
Complex needs (such as portrait engraving, intricate patterns): 600 DPI clearly presents detailed textures, suitable for jewelry customization and high-end craft processing;
Note: Higher resolution results in longer etching time. A balance between clarity and efficiency must be struck based on actual needs.
Beginner’s Tip: Regardless of which parameter is adjusted, always test on scrap material of the same type to observe the effect before fine-tuning. Avoid directly operating on finished products, which can lead to waste.

III. Practical Procedure: 3 Steps to Success, Even Beginners Can Easily Complete
After completing preparation and parameter settings, follow these steps. A complete etching process can be completed in 10-15 minutes, requiring no complicated operations. 1. Positioning and Importing Design Files
Fix the material to be etched on the worktable: small materials (such as phone cases, jewelry) are secured with double-sided tape, and large materials (such as wooden boards) are clamped to prevent displacement during etching;
Open the control software and import the design file (SVG vector graphics are preferred, as they are smooth when enlarged and suitable for etching; PNG and JPG bitmaps require a resolution ≥300 DPI);
Adjust the pattern position and size in the software, using the “Auxiliary Lines” function to align the center of the material or the target area, ensuring the pattern does not extend beyond the material’s edge.
- Previewing and Starting Etching
Click the software’s “Preview” (or “Simulation Run”) function. The laser head will move along the pattern outline but will not emit laser light, allowing you to visually check the accuracy of the pattern position and size;
After confirming the parameters are correct, close the equipment’s protective cover (most devices have a safety lock; the device cannot start if the cover is not closed), and click the “Start” button. The device will automatically enter etching mode;
During the etching process, do not open the protective cover, touch the equipment or material, or expose yourself to laser radiation or suffer burns. 3. Finishing and Finishing Inspection
After etching, wait 1-2 minutes for cooling (the surface temperature of the metal material is high, avoid direct contact);
Open the protective cover and use a brush or compressed air gun to clean the surface of any residue (metal shavings, wood chips, etc.);
Check the etching effect: If the pattern is blurry, the lens may be dirty or the resolution may be too low; clean the lens and improve the resolution; if the depth is uneven, the material may not be properly fixed; re-fix and test; if the lines are broken, reduce the speed or increase the power.
- Safety and Maintenance: Extending Equipment Lifespan and Mitigating Risks
After mastering the operating procedures, safety regulations and daily maintenance are equally important, ensuring personal safety and extending the lifespan of the equipment. 1. Safety Operating Points
* Protective Equipment: Wear laser safety glasses corresponding to the appropriate wavelength throughout the operation to avoid direct viewing of the laser beam and potential retinal damage; wear a mask when there is heavy smoke.
* Personnel Management: Do not leave your post while the equipment is running; constantly monitor the equipment status to prevent material fires; unauthorized personnel are prohibited from entering the operating area.
* Emergency Handling: If materials catch fire, immediately press the “Emergency Stop” button, turn off the power, and extinguish the fire with a dry powder fire extinguisher (do not use water to extinguish the fire, as this may short-circuit the equipment).
- Daily Maintenance Methods
* Lens Cleaning: Wipe the focusing and reflecting lenses weekly with dedicated lens paper dampened with anhydrous alcohol in one direction to avoid scratches from repeated rubbing.
* Water Circulation Maintenance: Check the water quality in the water tank monthly; replace with purified water if cloudy (do not use tap water to avoid scale buildup); clean the inside of the water tank quarterly.
* Storage Environment: When not in use for an extended period, disconnect the power, cover the equipment with a dust cloth, and store in a dry, well-ventilated environment (temperature 10-30℃) to prevent damage to components from moisture and high temperatures. For beginners, operating a laser etching machine is not difficult. By following the three steps of “preparation – setup – operation” and adhering to standardized safety and maintenance methods, proficiency can be quickly achieved. With experience, one can attempt to create complex patterns on different materials, unlocking more applications such as marking electronic components, custom jewelry, and craft processing. Whether for personal hobby creation or small-scale production, it can handle it with ease.


